HAZEL DELL, IN · Available 24/7 · (317) 342-7736

Slab Leak Detection in Hazel Dell: Foundation Repair Steps

3eb92760 b9b3 476b a727 f99e9d2dc758

You walked across the kitchen this morning and the tile felt warm in one spot. Or maybe the water bill doubled and nobody changed a thing. Maybe you hear a faint hiss when the house is quiet at midnight, and a baseboard near the hallway has started to swell. Those are the small signals of a slab leak, and in Hazel Dell they show up more often than most homeowners expect because of clay soil movement, older copper supply lines, and the freeze-thaw cycles that stress pipework buried under your foundation.

At Hazel Dell Water Restoration we have been answering these calls since 2018, and the conversation almost always starts the same way. The homeowner is not sure if it is a slab leak, a slow appliance leak, or condensation. They are worried about jackhammers, insurance, and the cost of being wrong. That is fair. Cutting concrete is a serious step, and nobody should do it on a hunch. As an IICRC certified, BBB A+ rated restoration company serving Central Indiana, our job is to confirm what is actually happening under your foundation, contain the damage above it, and tell you honestly whether you need us, a plumber, or both. If we cannot help, we will tell you directly.

Step 1: Confirm the Leak Is Under the Slab

  1. Shut off every fixture and appliance in the home, including ice makers and humidifiers.
  2. Locate the water meter at the curb or in the basement. Watch the low-flow indicator (the small triangle or star) for 5 minutes.
  3. If the indicator moves with all fixtures off, you have an active supply-side leak. Movement of more than 1 revolution in 5 minutes typically means a leak rate above 0.5 gallons per minute.
  4. Isolate hot from cold: close the cold supply at the water heater. If the meter stops, the leak is on the hot line (about 80 percent of Hazel Dell slab leaks). If it keeps moving, the leak is on the cold side.
  5. Document the reading. Insurance adjusters will ask for a baseline.
  6. Check for secondary symptoms: warm spots underfoot, unexplained spikes in the water bill (typically 20 to 40 percent above 12-month average), or a faint hiss near interior walls during quiet hours.
  7. Rule out irrigation, pool autofill, and recirculation pumps before declaring a slab leak. Close each isolation valve in sequence and recheck the meter for 5 minutes per valve.

Step 2: Pressure Test the Supply Lines

  1. Cap accessible fixture stops and isolate the suspect line.
  2. Apply 60 to 80 psi of static water pressure (never exceed 100 psi on residential copper or PEX).
  3. Hold for 15 minutes. A pressure drop of more than 5 psi confirms a breach.
  4. If the line holds, retest with air at 30 psi. Air finds pinhole failures that water can mask.
  5. Record ambient temperature during the test. A 10 degree Fahrenheit swing can shift readings by 1 to 2 psi and produce a false positive.
  6. Tag every test point with painter's tape and a timestamp. This sequence becomes part of the claim packet.

Step 9: Post-Repair Verification

  1. Re-pressurize the system to 80 psi and hold for 60 minutes. Zero drop is the only acceptable result.
  2. Re-scan with thermal at 24 and 72 hours.
  3. Final moisture readings must be within 2 percentage points of unaffected reference areas.
  4. Issue a Certificate of Drying. Keep this for your home file and any future buyer.

Step 3: Acoustic Locate

  1. Pressurize the leaking line to 60 psi.
  2. Sweep the slab with a ground microphone in a 2-foot grid pattern.
  3. Mark every reading above 40 dB with chalk.
  4. Triangulate the loudest point. On a typical 4-inch slab, acoustic accuracy is plus or minus 6 to 12 inches.
  5. Note ambient noise. HVAC, refrigerators, and traffic in dense Hazel Dell neighborhoods can mask the signal, so we run locates between 9pm and 6am when needed.
  6. Switch to a 400 to 800 Hz bandpass filter for hot-line pinholes and a 200 to 400 Hz filter for larger cold-line breaches.
  7. If the slab is covered with tile or hardwood, expect a 3 to 5 dB attenuation and adjust the threshold downward before marking.

Step 5: Moisture Mapping the Affected Area

  1. Use a non-penetrating moisture meter on flooring within a 10-foot radius of the locate point.
  2. Record readings on a sketch. Anything above 17 percent in wood or above 4.0 on the relative scale in concrete is wet.
  3. Drill 1/4-inch test holes through baseboard cavities and probe with a pin meter. This confirms wicking up the wall plate.
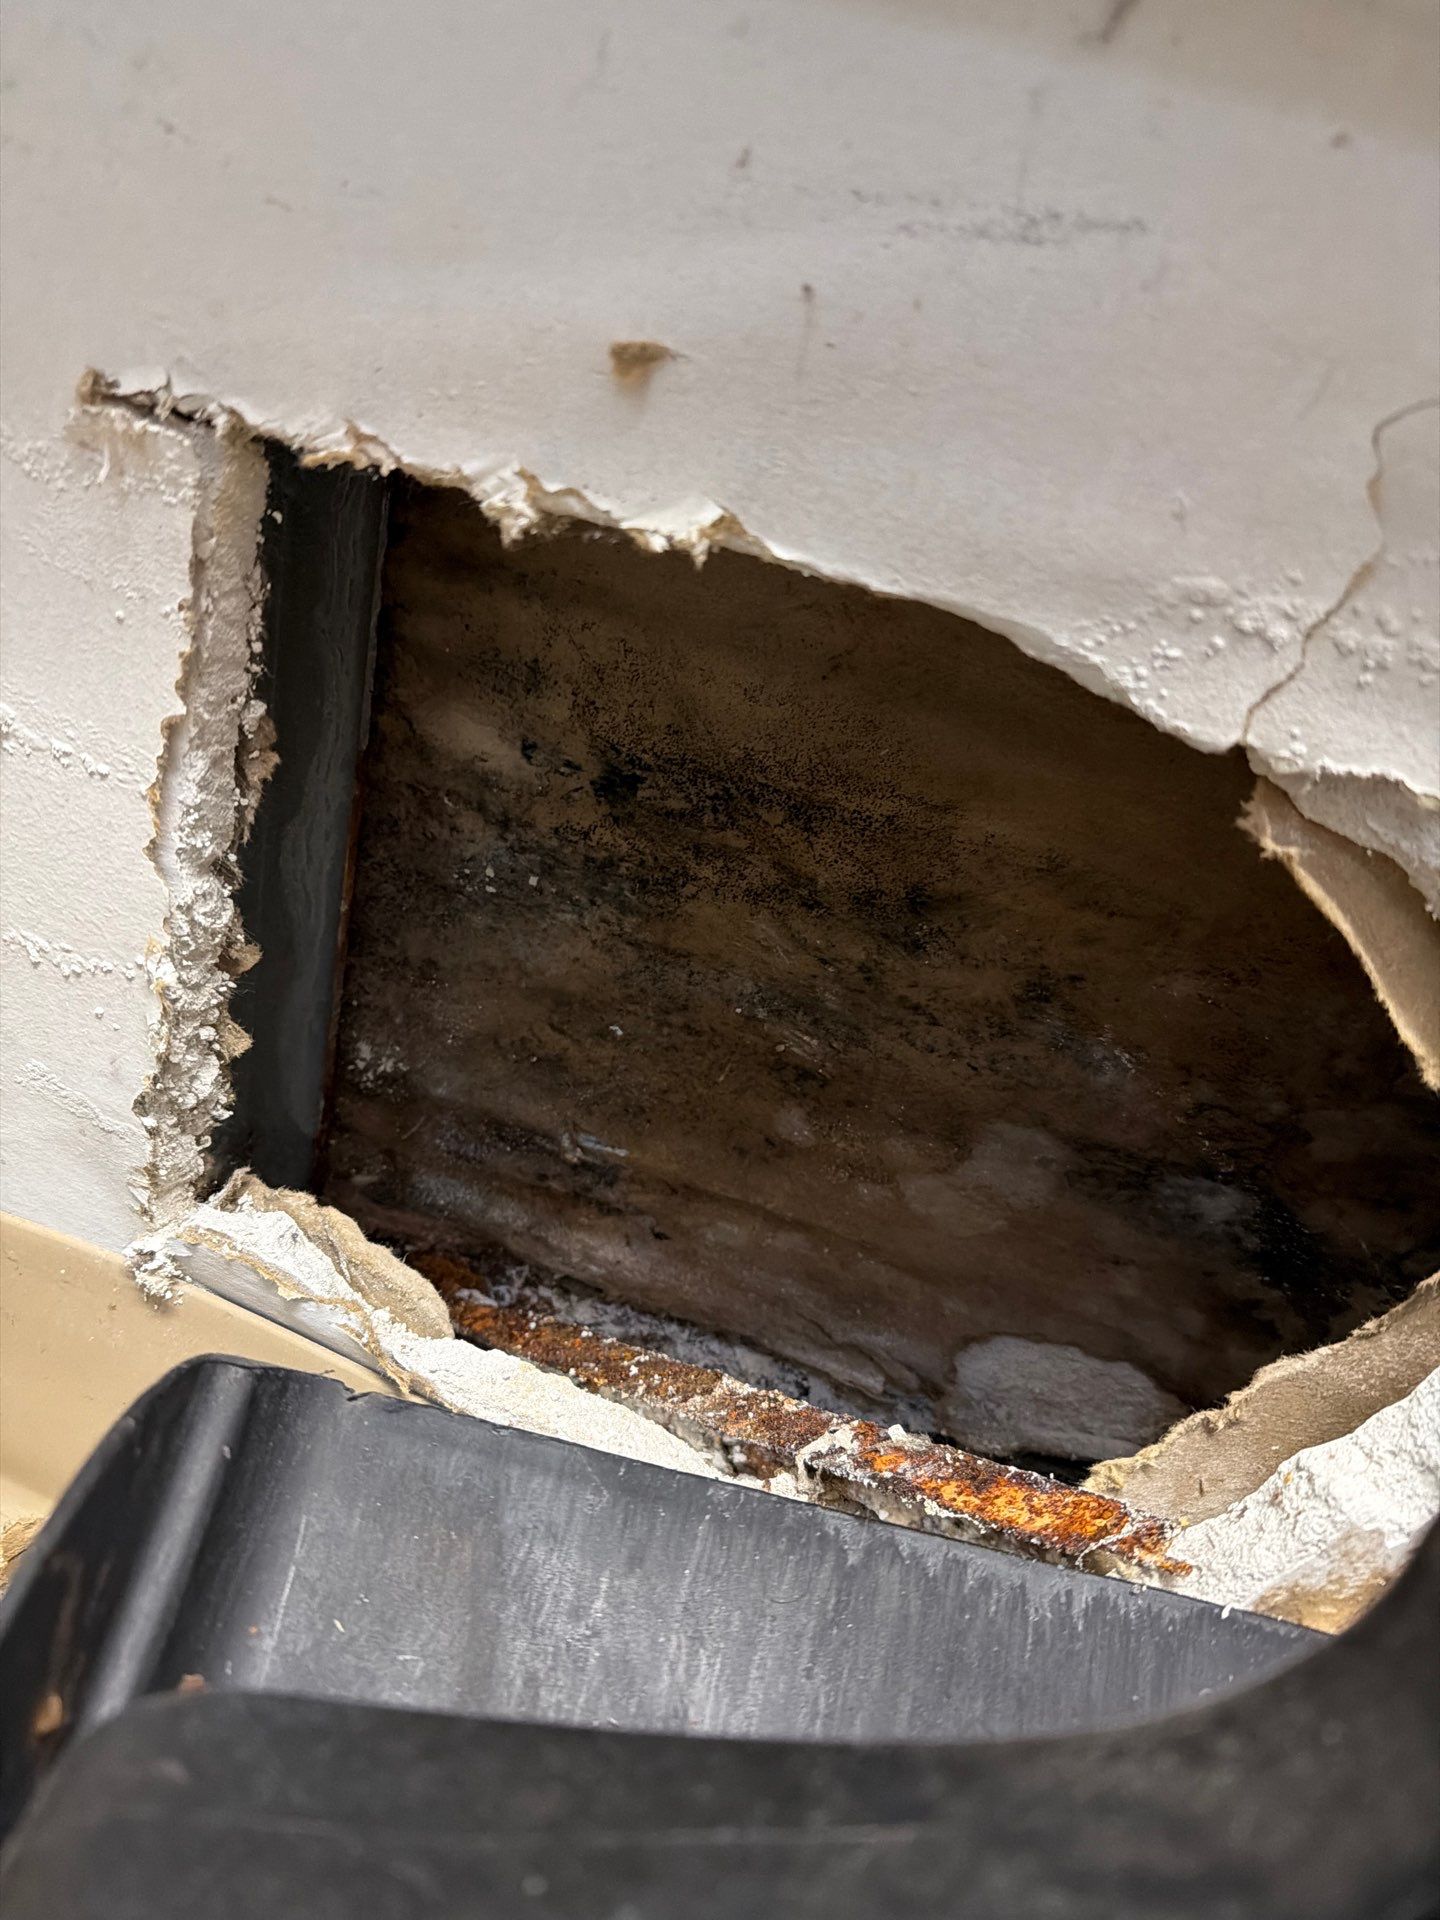
  4. If readings extend beyond 6 feet, you likely have a Category 2 loss and may need our water damage restoration crew on site within 24 hours to prevent mold colonization.
  5. Take reference readings from a dry area of the same flooring type. The differential, not the absolute number, drives the drying goal.

Step 6: Choose the Repair Path

  1. Spot repair: Saw-cut a 24 by 24 inch section of slab, excavate 8 to 12 inches of subgrade, repair the copper or PEX, and patch. Typical cost in Hazel Dell: $1,800 to $3,500.
  2. Reroute: Abandon the failed line and run new PEX-A through walls and ceiling. Best for homes with multiple pinholes. Typical cost: $2,500 to $5,500.
  3. Whole-home repipe: Recommended when copper is over 25 years old and shows three or more failures. Typical cost: $6,000 to $15,000.
  4. Confirm permit requirements with your Hazel Dell building department before cutting concrete.
  5. Factor in post-tension cable scans before any saw-cut on slabs poured after 1970. Cutting a tensioned cable is a 5-figure structural repair Hazel Dell Water Restoration will not absorb.

Step 10: Prevent the Next Slab Leak

  1. Install a whole-home pressure regulator if static pressure exceeds 75 psi. High pressure is the leading cause of repeat pinholes in Hazel Dell.
  2. Add a flow-based leak sensor at the main. Devices triggered above 0.1 gpm for 20 minutes will shut the supply automatically.
  3. Test water chemistry annually. pH below 6.5 or above 8.5 accelerates copper pitting.
  4. Schedule a Hazel Dell Water Restoration 12-month follow-up thermal scan. Catching the second pinhole at 18 months saves 60 to 70 percent versus emergency response.

Step 4: Thermal Confirmation

  1. Power down HVAC for 30 minutes to stabilize floor temperature.
  2. Scan the suspect area with a thermal imager at a sensitivity of 0.05 degrees Celsius.
  3. Hot-line leaks produce a warm plume 4 to 8 degrees above ambient slab temperature.
  4. Cold-line leaks show as a cool ring 2 to 4 degrees below ambient.
  5. Photograph each thermal image with a visible-light reference shot. These images become evidence in your claim file.

Step 7: Structural Drying

  1. Extract standing water with a truck-mount unit pulling 180 to 200 CFM.
  2. Set air movers at 1 unit per 12 to 16 linear feet of wet wall.
  3. Deploy LGR dehumidifiers sized at 1 unit per 1,500 square feet of affected area.
  4. Target 30 to 40 percent relative humidity in the work zone.
  5. Monitor daily. Most slab-leak drying jobs reach equilibrium in 3 to 5 days. Hidden moisture behind cabinet kicks and under tile can extend this, which is why we cross-reference our readings against the techniques in our hidden leak detection guide.
  6. For tile assemblies, drill 3/8-inch weep holes in grout joints at 18-inch spacing and connect to negative-pressure manifolds. This pulls vapor from the underside of the tile without lifting.

Step 8: Document for Insurance

  1. Compile thermal images, moisture maps, pressure test logs, and daily psychrometric readings.
  2. Match line items to Xactimate codes (WTR DMO, WTR DRY, WTR EQUIP).
  3. Note the IICRC S500 category and class on the loss report. Most slab leaks are Category 1 Class 2 at intake but escalate to Category 2 within 48 hours.
  4. Submit within 72 hours. Insurers in Hazel Dell routinely approve sudden-and-accidental slab leak claims when documentation is complete. Cost detail is broken down further in our price breakdown article.
  5. Include a written cause-of-loss statement signed by the licensed plumber. Adjusters reject roughly 1 in 4 claims that lack this single document.

What to do right now if you suspect a slab leak

Shut off the main water supply if you see active pooling or hear running water with all fixtures off, then call us. Every hour matters once moisture is under the slab, because wicking into wood framing and drywall is what turns a plumbing problem into a restoration project. Hazel Dell Water Restoration responds across Hazel Dell around the clock, brings the diagnostic tools to confirm the leak before anyone cuts concrete, and handles the drying, containment, and rebuild that follow. If your situation turns out to be a simple appliance leak or a fixture issue, we will tell you that on the first visit and point you toward the right trade. Honest answers cost nothing, and they are the fastest way to protect your home and your wallet.

Frequently Asked Questions

How do I know if I have a slab leak or just a surface leak?

In Hazel Dell homes, slab leaks usually show as warm floor spots, unexplained water bill increases, the sound of running water with everything off, or moisture wicking up at baseboards. A surface leak typically has a visible source. Hazel Dell Water Restoration runs a pressure isolation test to confirm before any concrete work.

Will my homeowners insurance cover slab leak repair in Hazel Dell?

Most Hazel Dell policies cover the resulting water damage and access costs (opening and repairing the slab) but not the failed pipe itself. Coverage depends on whether the leak was sudden or gradual. Hazel Dell Water Restoration documents moisture readings and timeline evidence to support your claim.

How long does sub-slab drying take after the repair?

For most Hazel Dell slab leaks we handle, equipment runs three to seven days depending on saturation depth and soil type. We monitor daily with moisture meters and remove equipment only when readings return to dry standard.

Is pipe rerouting better than repairing under the slab?

It depends on pipe age and accessibility. If your Hazel Dell home has 40-year-old copper with multiple weak points, rerouting or repiping prevents the next leak. For a single failure in otherwise sound pipe, a spot repair is reasonable. Hazel Dell Water Restoration gives you the honest comparison for your specific situation.

Can a slab leak cause foundation damage?

Yes, prolonged slab leaks erode the soil and aggregate under the foundation, which can lead to settling, cracking, and uneven floors. This is why Hazel Dell Water Restoration prioritizes early detection and proper sub-slab drying after repair across our Hazel Dell service area.